It's been a couple of weeks since I've updated this...but I've been busy (doesn't feel like it since most of it was slow handsewing). So you, gentle readers, get to see a lot of pictures! Was that from a book, "gentle reader?" Not that that's saying much. I've read how many books?
The big project that I'm almost done with is my straw covered bonnet. The brim took about a week and a half to cover. Then I was struggling to get the bavolet (the curved part in the back) to sit correctly. Turns out the brim and the bavolet was supposed to be connected by wire on the edge before all of this, but that wouldn't have worked at all. So it's a big shoddy at the corners, but for my first bonnet, that'll have to do.
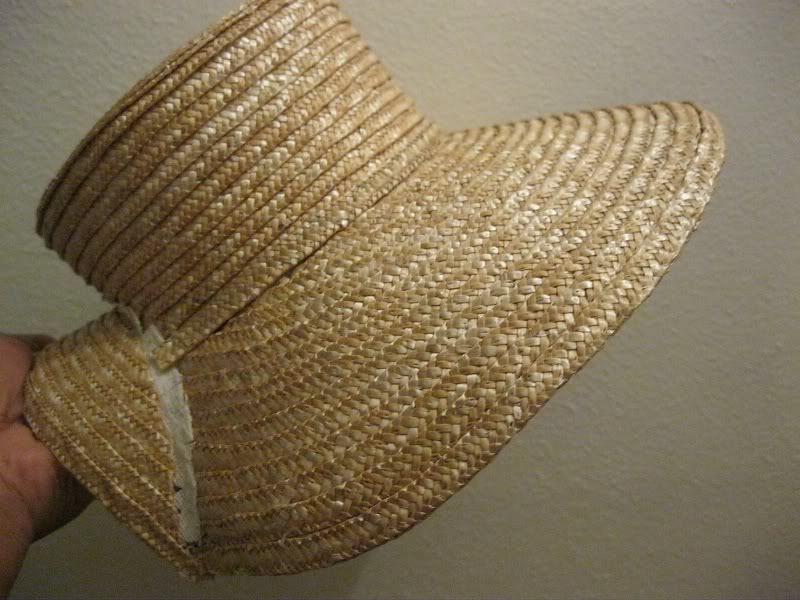
The acursed bavolet. Figured attaching it to the top and covering it with another strip of straw would be best
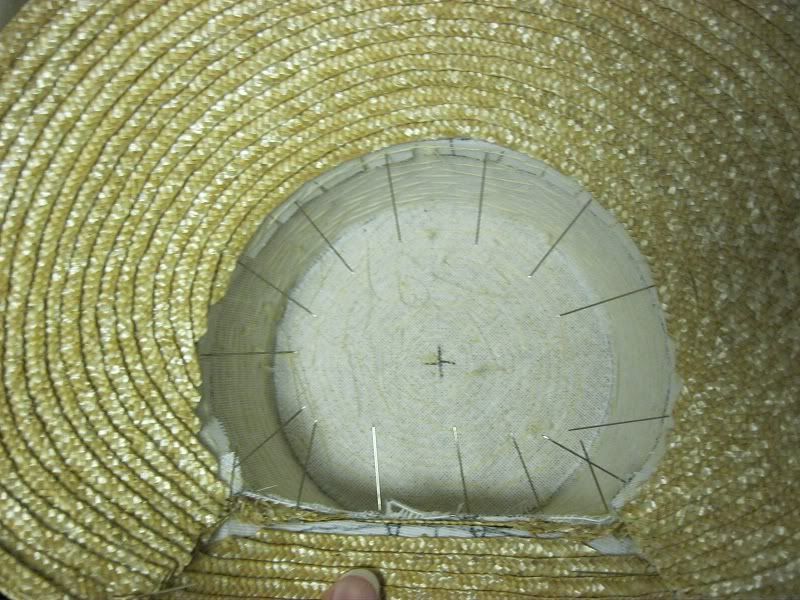
The inside of the bonnet, since you can't see my stitching anywhere else. All that time...
And the bonnet as it is right now!
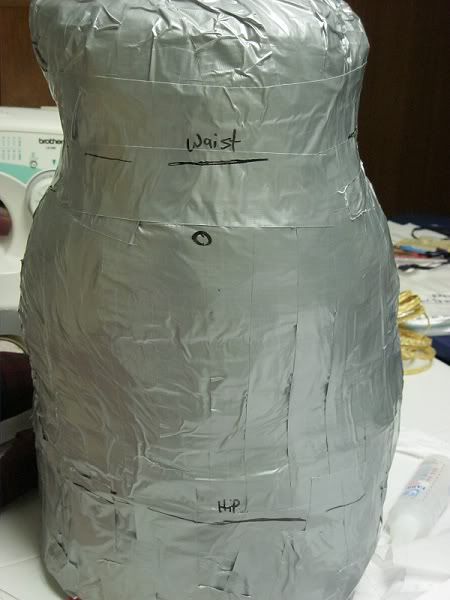
I worked on two other things, my pleated skirt and a duct tape dummy. The dummy was...interesting. I had one of my sisters help me, and since I was making this over my waist and hips, there are just some areas that you shouldn't be touching on your sister, so I had to help with pressing down tape. ^_^ I stuffed it with the stuffing you use for pillows and stuffed animals, and newspaper/fabric scraps/plastic bags, putting the stuffing in the middle so the outter wall wasn't as squishy. The waist was too big, so I used a combination of slashing from the top, repositioning, and retaping, and taking a strip of fabric and cinching the waist as much as I could. It's not pretty, but it'll do. Now I just need to make a stand for it...
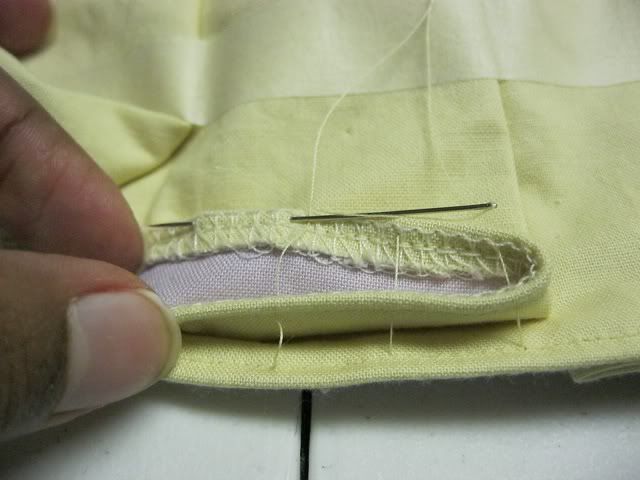
And finally, my pleated skirt. This one I've been putting off (and working on my bonnet instead) because it's awkward hand sewing. So after I machine stitched the top (it's going to be covered up, so I don't care how it looks) I slipstitched the bottom closed because I want NO movement of these pleats.
A closeup of the slipstitching, since I like detail pictures on how people do what they do
]
After that, I got some tape to reinforce the back. I was thinking of just tacking it to the base skirt, but quickly realized that was more trouble than it's worth, so if I do tack it, it'll be mostly held up by the tapes.
So here's where I am with that:
]
Oh, and bonus, because I was tired of doing all of this crap last Friday, I decided to spend my time in the sewing classroom drafting a basic bodice from Fashions of the Gilded Age. Wasn't expecting much...but it turned out well! And other than ease in the bust and messing around with the armhole and sleeve length, it looks that it might fit!
So yeah. Next project is my bodice mockup, not the drafted one, but the Truly Victorian one. Then fixing the overskirt mockup since I can't get the fit right. I have a lot of work to do before the end of March...
Tuesday, January 31, 2012
Wednesday, January 11, 2012
"Project Runway" project
So a little backstory on my current project...
In October, my sewing teacher gave us an assignment that she called "Project Runway,"like at the end of the season when the finalists go home for a few months and make a collection. We're required to make a minimum of five pieces plus a hat or purse by some undisclosed time in March. My project is two complete three piece suits in lavender and pale yellow, one for 2011, one for 1881, plus a straw-covered bonnet. I also plan on recovering a parasol and making a pair of gloves, a couple pieces of jewelry, and a purse, but that will come later due to time constraints.
Patterns:
Modern Suit
Folkwear Vintage Vest, Version C
Vogue 8679 Jacket (hand sewing lining shut still left to do)
Simplicity 2562 Wide leg pants
Simplicity 2758 Blouse A
1881 Suit
Truly Victorian 121 Natural Form petticoat
Truly Victorian 221 Tie-Back Underskirt (base done, sans ties, full pleated skirt half done)
Truly Victorian 420 Curiass Bodice, high collar, full sleeve (for now, pattern’s altered to look like faux vest bodice from pgs 198-199 of Fashions of the Gilded Age vol 1.)
Overskirt front based off of pg 395 of Fashions of the Gilded Age vol 1. Back my own design.
Lynn McMaster’s Natural Form Era Bonnet, View B
Tuesday, January 10, 2012
You start with...hair?
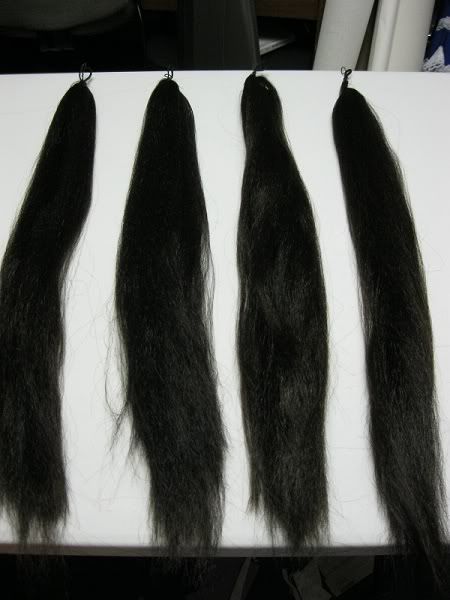
To start off my brand new blog, I'm not even going to tell you about the project that I'm working on because I don't have any pictures to show yet. So I'll start with what I worked on this afternoon:hair switches.
I used the tutorial on Lynn McMaster's site, and it was successful in my own way--which usually is about 90% successful with some bumps and cursing along the way. Most of my cursing involved the hair tangling horribly. People who have long hair, I do not envy you at all.
After all of that, here's my first attempt at hair switches.
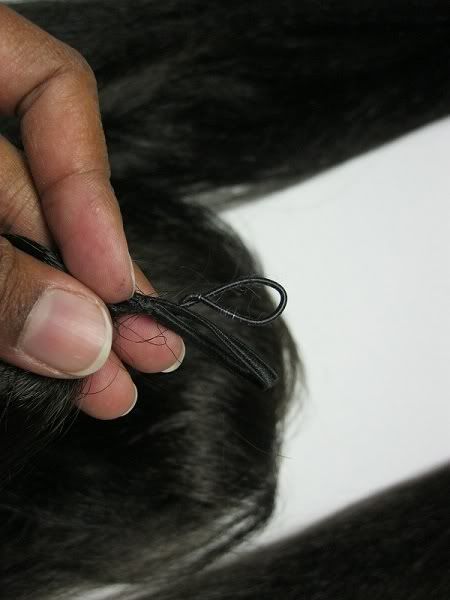
And the little wire loops that helps twist the hair in a ponytail shape. I also added an elastic cord in case I wanted to wrap it around my real hair.
More stuff on the project forthcoming, if my back and wrist cooperate.
I used the tutorial on Lynn McMaster's site, and it was successful in my own way--which usually is about 90% successful with some bumps and cursing along the way. Most of my cursing involved the hair tangling horribly. People who have long hair, I do not envy you at all.
After all of that, here's my first attempt at hair switches.

And the little wire loops that helps twist the hair in a ponytail shape. I also added an elastic cord in case I wanted to wrap it around my real hair.

More stuff on the project forthcoming, if my back and wrist cooperate.
Subscribe to:
Comments (Atom)

